Install RSAT in server 2019. RSAT (Remote Server Administration Tool) is a windows component used for remote management of roles & features runnning on other servers. RSAT is based on snap-in and includes tools for domain management, hyper-v management and cluster management.
RSAT tool acts as same way as it performs in the remote server. RSAT was introduced in server 2008R2 and it is available for both the server OS and client OS. Installing RSAT can be performed via PowerShell and GUI.
Also read : Install and configure Active directory in Server 2019 step by step
-
Installation of RSAT with PowerShell
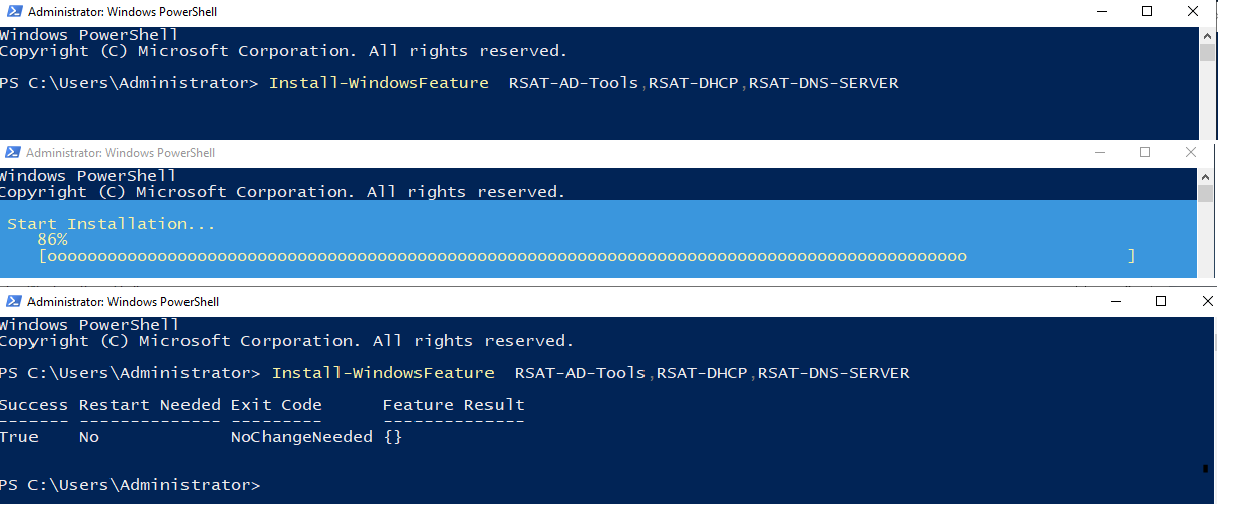
Installing RSAT with PowerShell is easy and less time consuming. ‘Install-WindowsFeature NAME‘ performs the installation of RSAT.
Install-WindowsFeature RSAT-AD-Tools,RSAT-DHCP,RSAT-DNS-SERVER
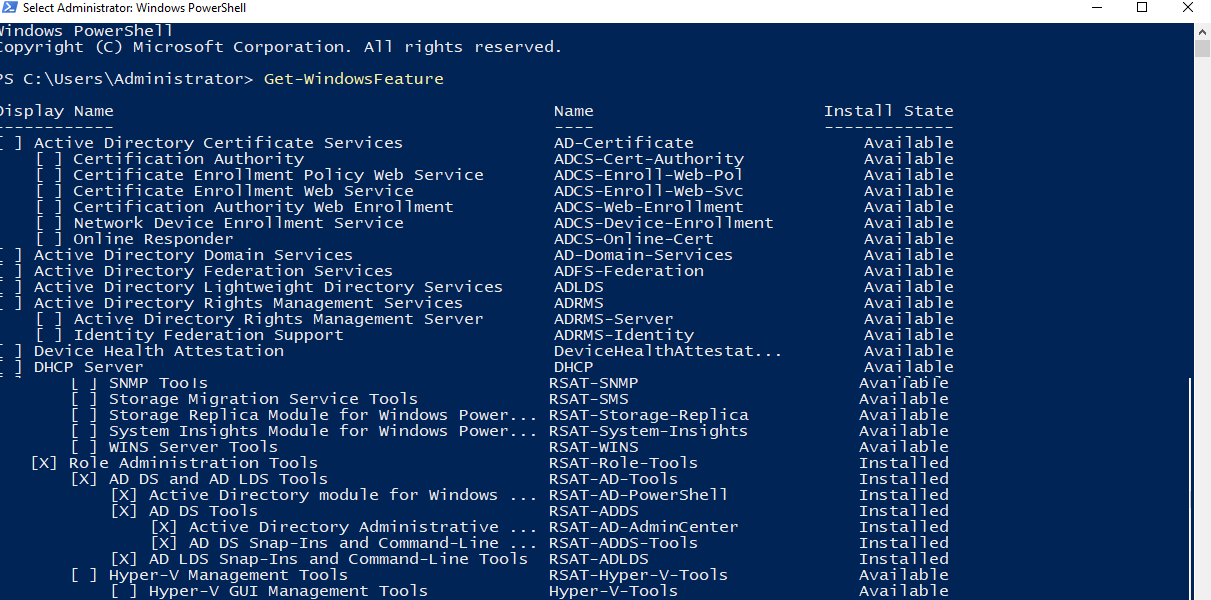
Get-WindowsFeature provides the installed roles & features information in our server to verify the RSAT installation.
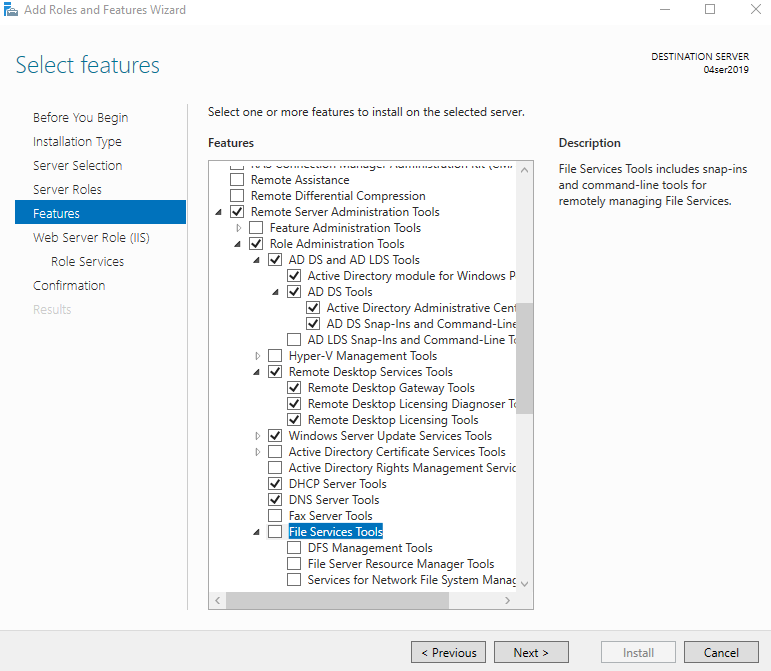
2.Install RSAT via GUI
- Select Server Manager and click on Dashboard -> Add Roles and Features


2.Select Roles if required.
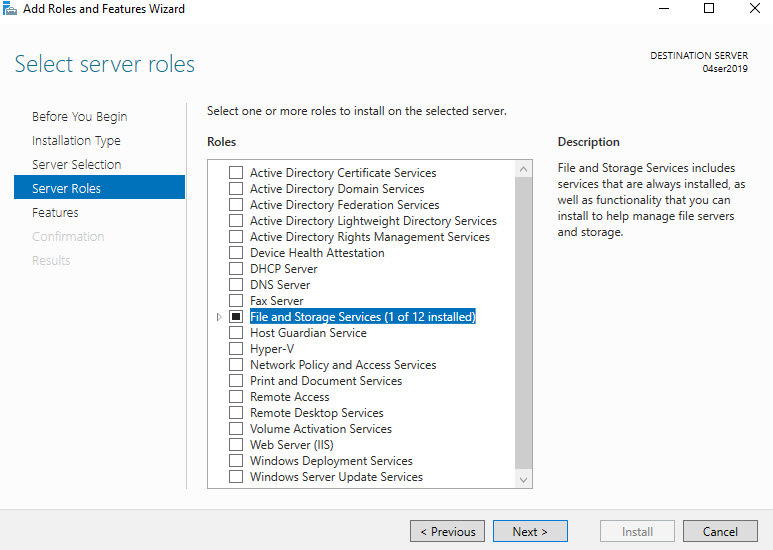
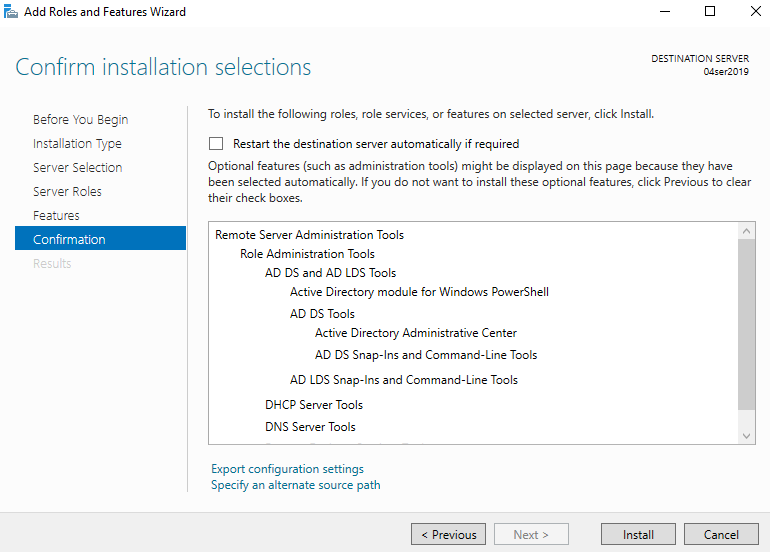
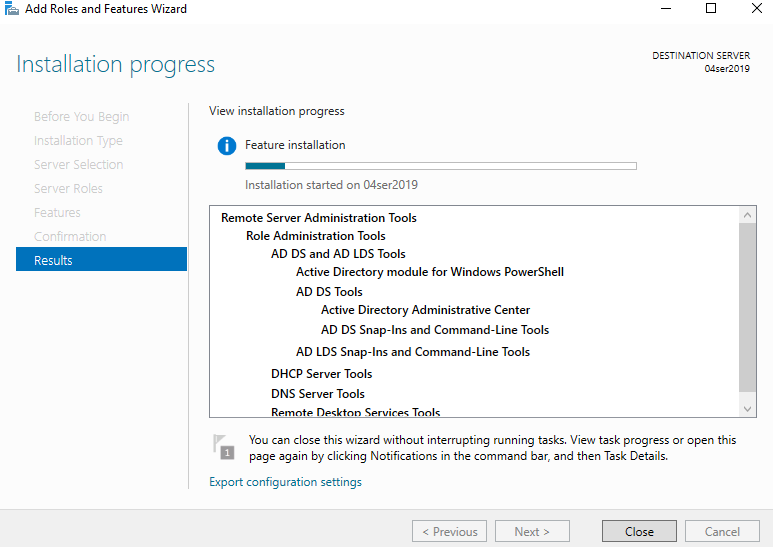
3.Select RSAT tools based on your requirements and click Next.