
Install and configure openfire in windows server step by step. Openfire is open source instant messaging and group chat server. Openfire is based on XMPP communication protocol and written on JAVA. It has very simple UI and also supports number of additional plugins & features. Openfire uses embedded database or common databases like SQL, MYSQL,Oracle in back end.
Openfire supports Windows,Linux and Mac OS and compatible with IM clients like spark, ADium,pidgin.
Installation and configuration of Openfire:
1. Openfire is developed based on Java and to install openfire, it is recommended to install Java as pre-requisite. We may receive a error during openfire installation if java is missing.
Download latest version of java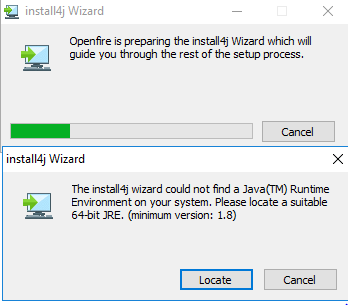
2.Download Openfire server from official page of igniterealtime. CLICK HERE TO DOWNLOAD.
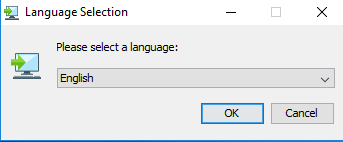
 3. Once download is completed, proceed to install. Select the preferred language and click Next.

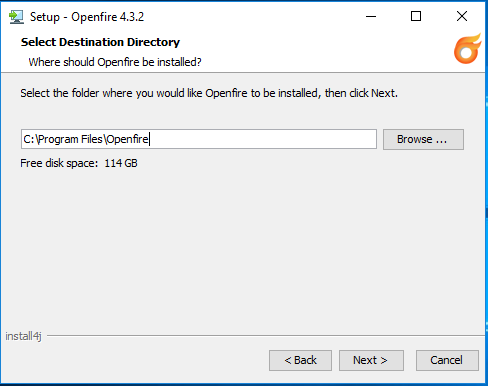
 4. Click Next once you agree with the License terms. Select the preferred path for installation and proceed.
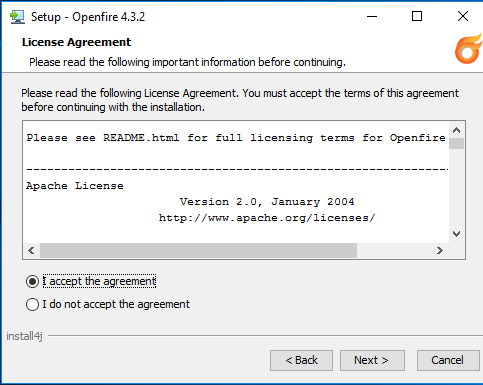

 5.Once the installation is completed, open openfire setup webconfig wizard .
ADMIN CONSOLE LINK: http://localhost:9090
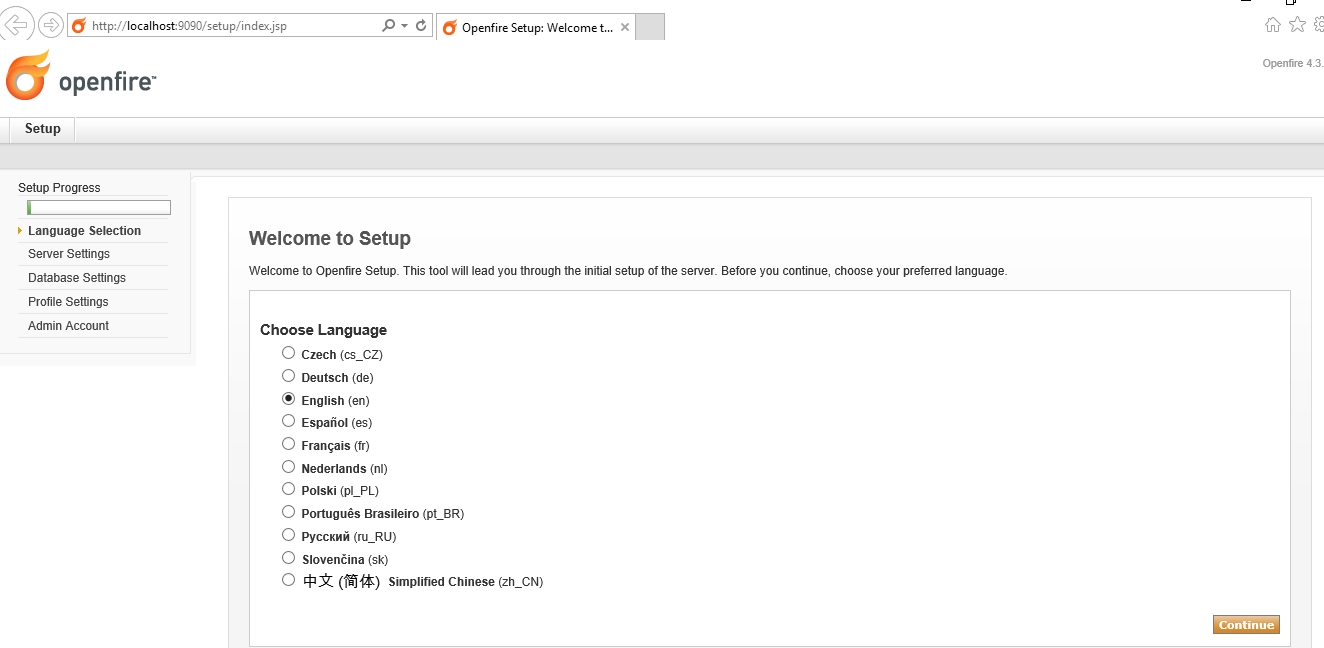
6. LANGUAGE SELECTION: Select preferred language for configuration and ‘continue’.
 7. SERVER SETTINGS: Enter the server details and customize the admin console ports if required. Click ‘continue’.
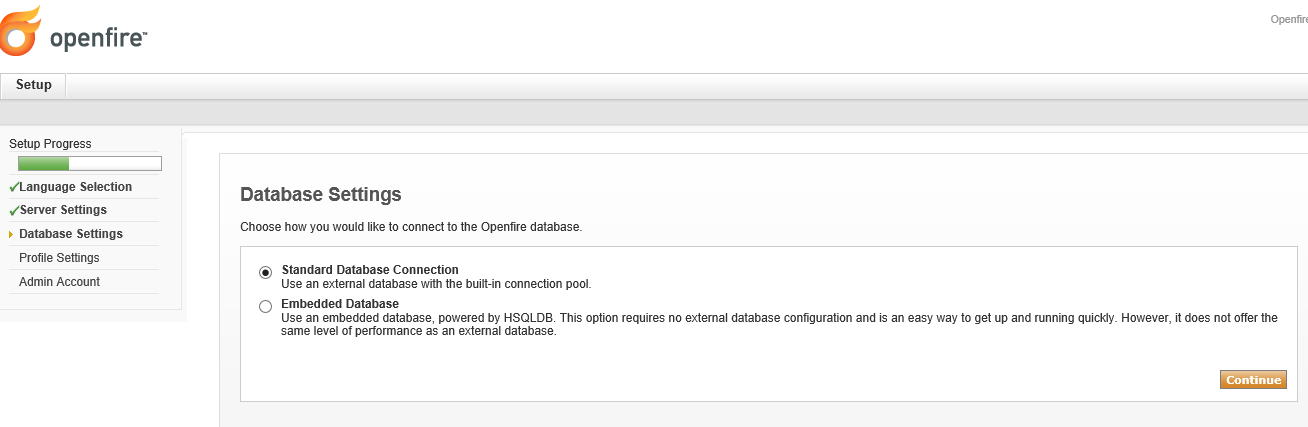
 8.DATABASE SETTINGS: On database selection , we have two options to select – External database or Embedded database.
- Embedded database is in-built database based and is easy way since doesn’t require additional DB configurations. It is preferred for testing and not recommended for production environment.
- External database
 We will be using Microsoft SQL as an external database for this configuration and existing db server details for configuration. In case of using SQL server, create a new database as openfire and use following values for configuration,
JDBC DRIVER CLASS = com.microsoft.sqlserver.jdbc.sqlserverdriver
Database URL = jdbc:sqlserver://DBSERVER:PORTNUMBER;databaseName=OPENFIRE;applicationname=OPENFIRE
 Mismatch in supplied db values gives similar error with logs to rectify it.
9.PROFILE SETTINGS: Profile settings provides option to map the AD users to openfire by entering LDAP details.
9a. Enter the LDAP details like Base distinguished name of openfire users and DN of domain admin with password.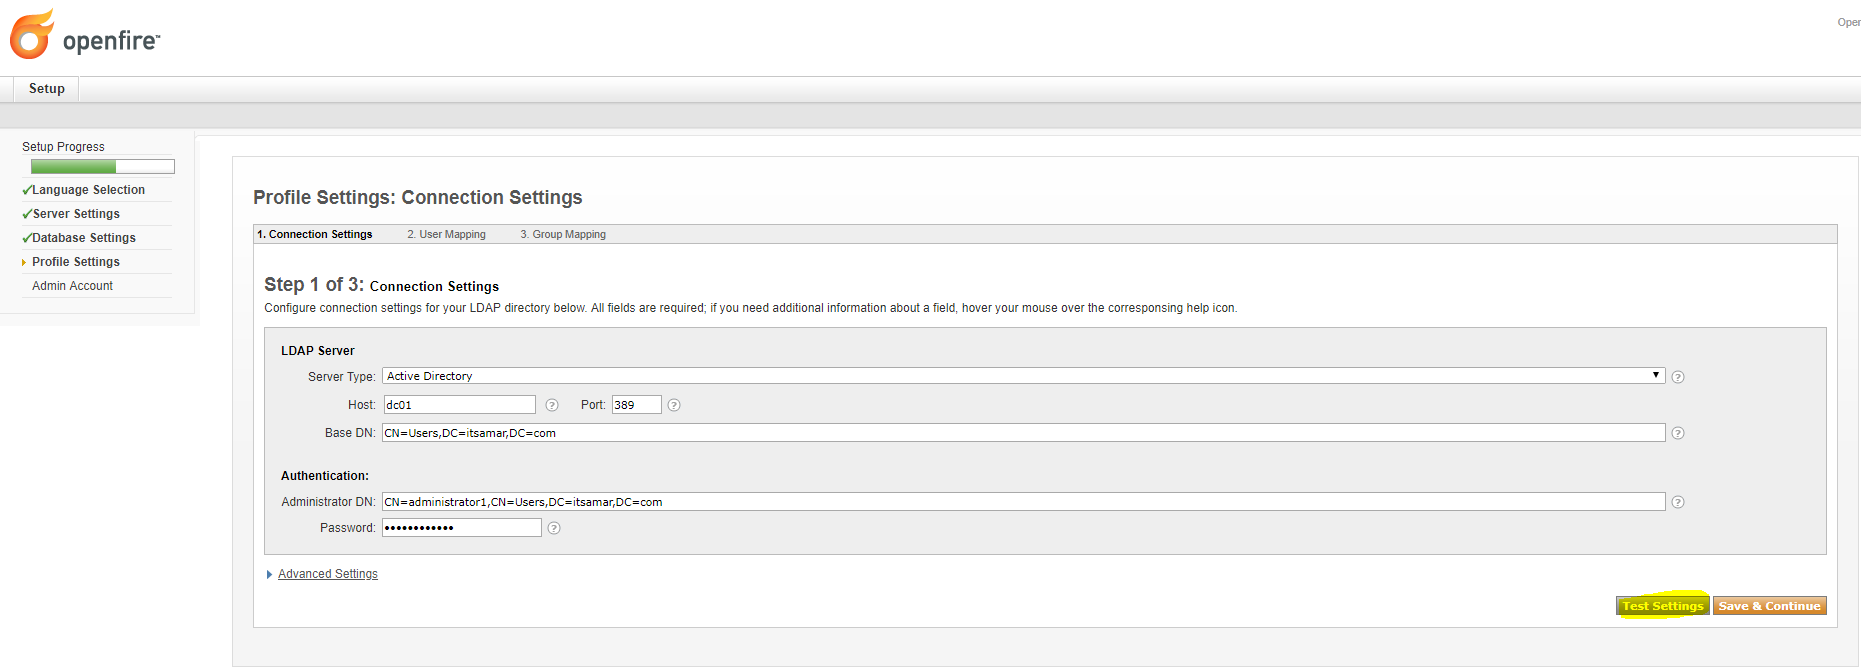
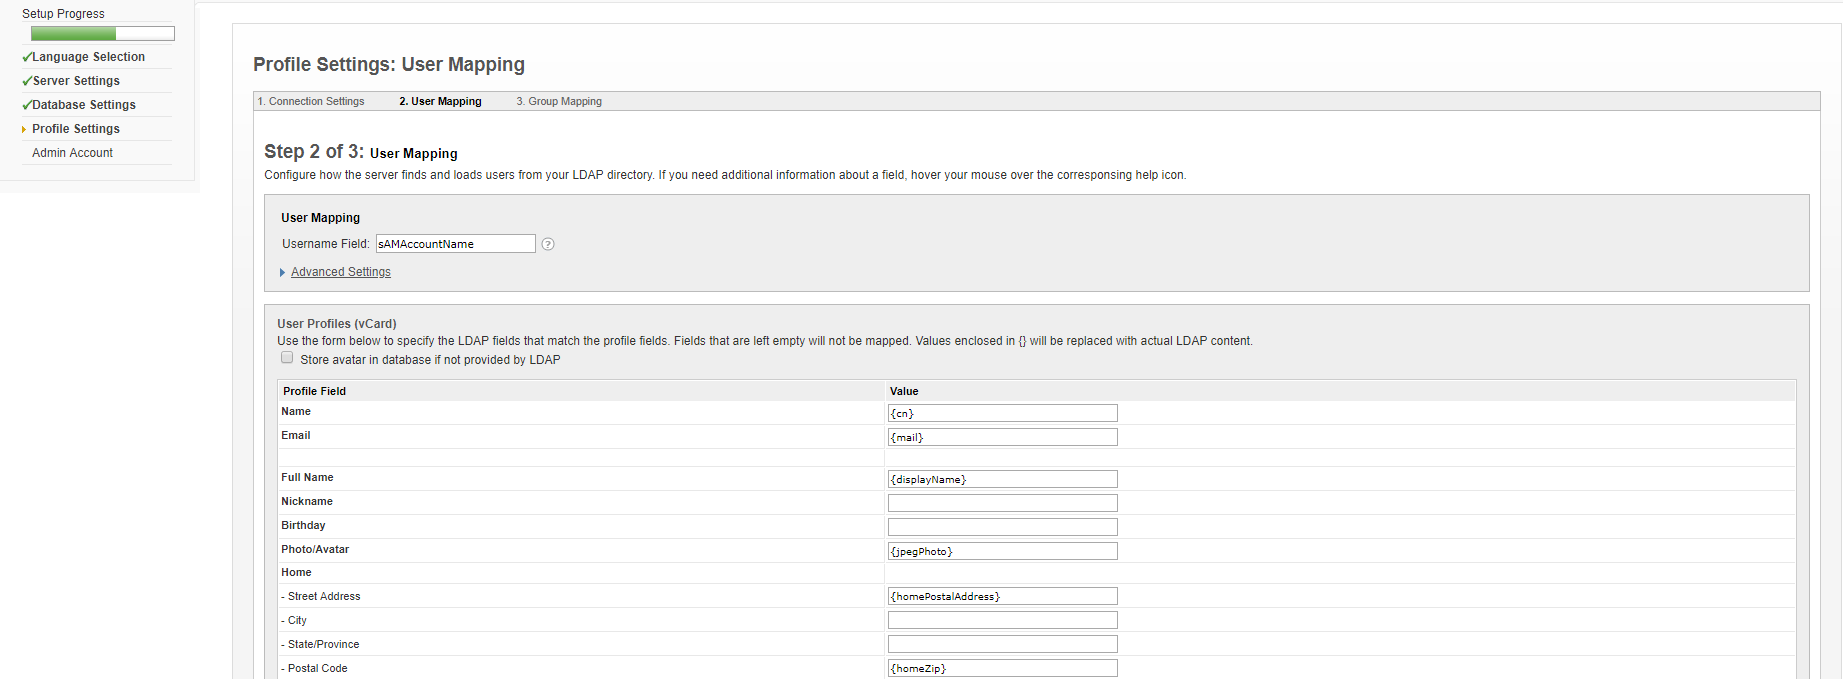
 9b.Click ‘Save & Continue’ once the connection settings are verified. In next step, select the user mapping field for login. Please make sure you’re selecting the correct field of user attribute, so that the users can able to login with that particular attribute.
We are selecting ‘sAMAccountname’ for this installation and all the users can able to login only using their sAMAccountname and password. We can set email, cname, displayname or other attribute on which the users can able to login with that selected attributes.
 9c. Select the preferred group mapping and click ‘continue’.
 10. Admin account: Select an administrator account from AD to manage the openfire and click ‘continue’.

 11.Now the basic configuration is completed .
To verify open the webconsole by http://localhost:9090 or with port number specified in step7. Enter the administrator credential specified in step10.
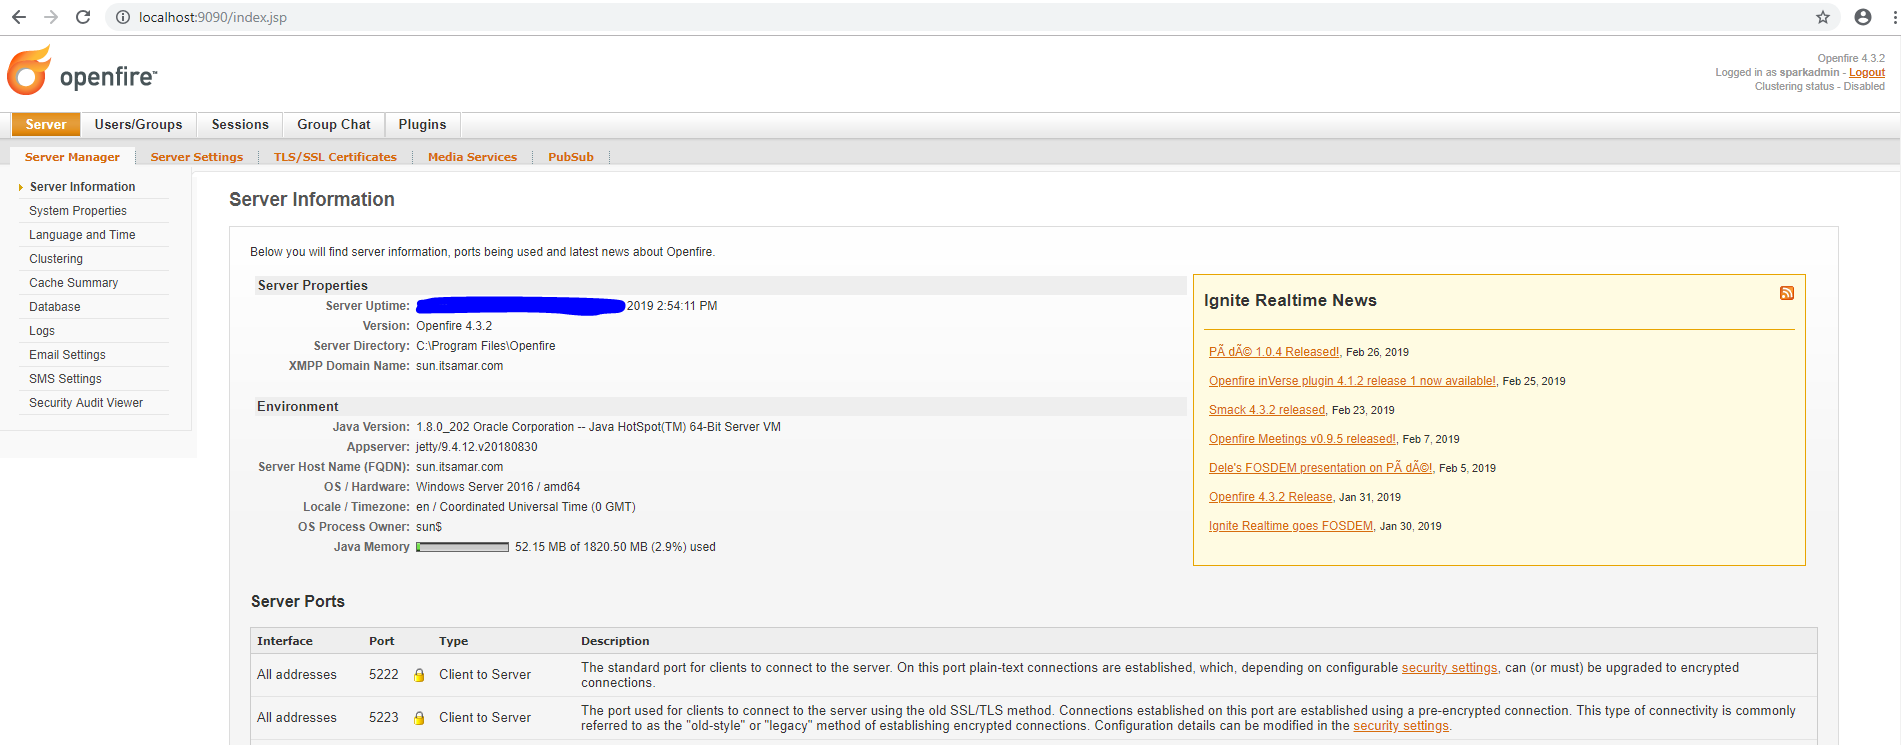
12.Kindly note that the configuration use self signed certificate by default and it is recommended to change the certificate for production environment. Also perform the additional configuration steps like creating new chat room under ‘Group chat -> Room administration -> create New room’ if required for our environment.
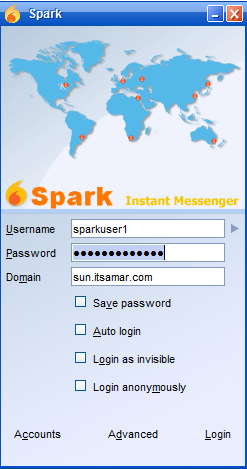
13. To verify the connectivity with client , install SPARK IM client (preferred) and login with the mapped users in step9.
Client IM application uses 5222 and 5223(SSL) ports to communicate with openfire server.
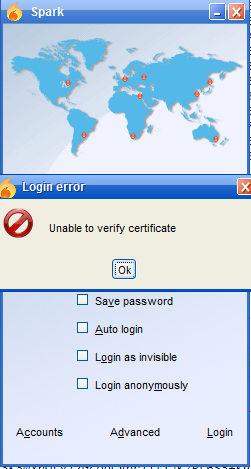
- In case of “UNABLE TO VERIFY CERTIFICATE ERROR”, click ‘Advanced -> General -> check ACCEPT ALL CERTIFICATES’. This error is due to usage of self signed certificate in openfire server.

Great Article, Thank you dude!